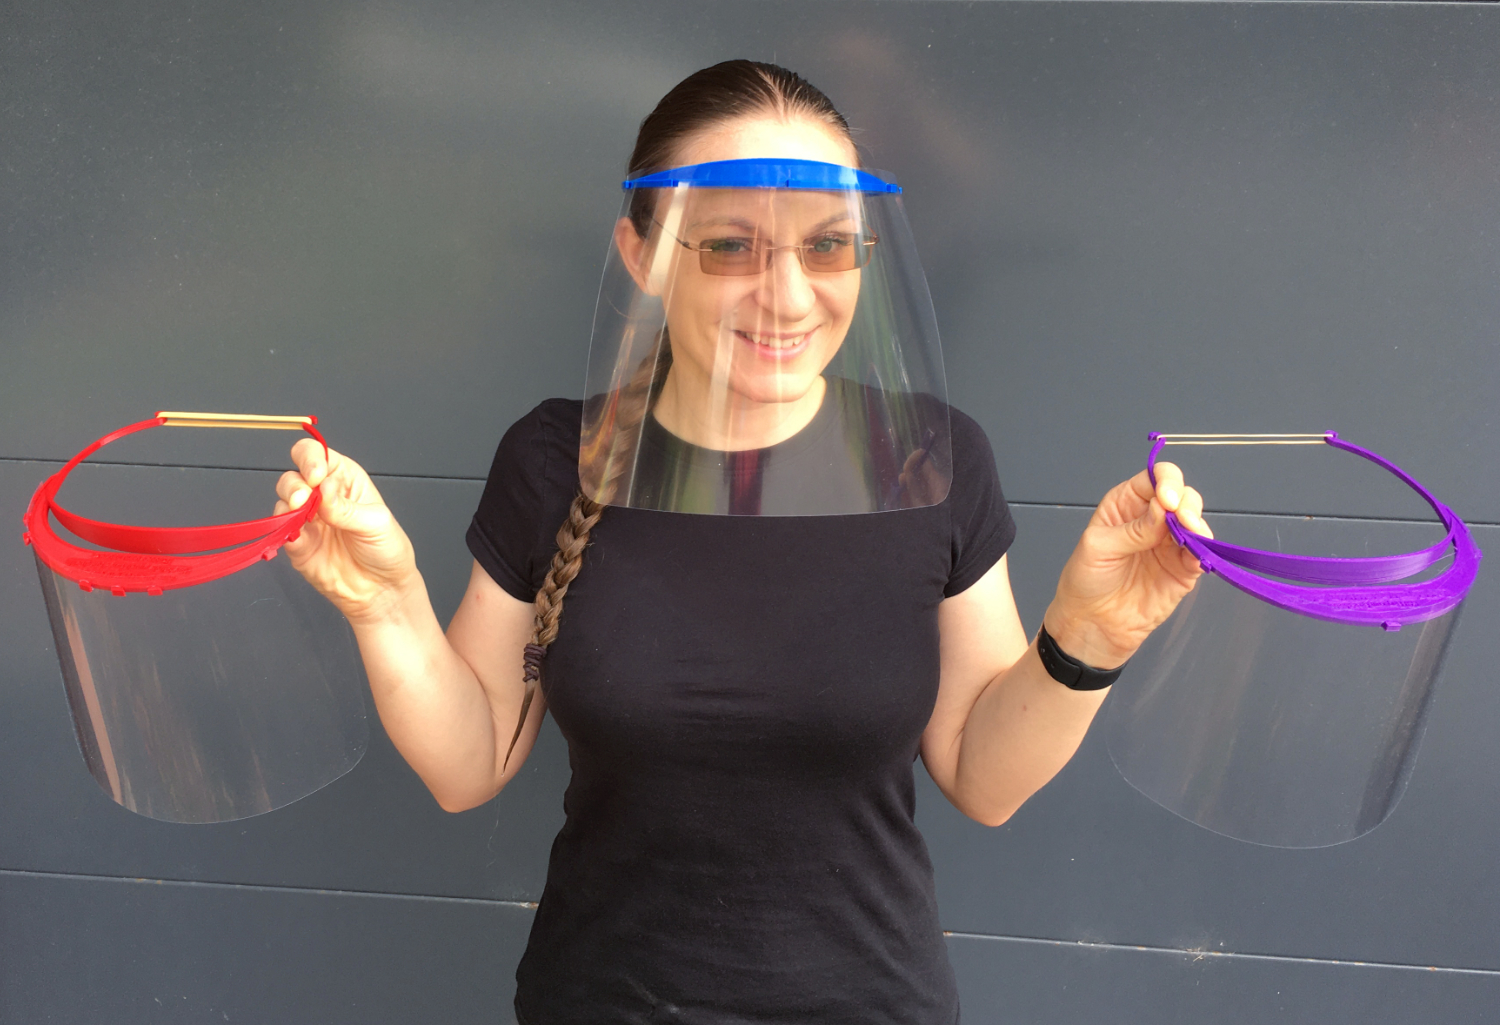
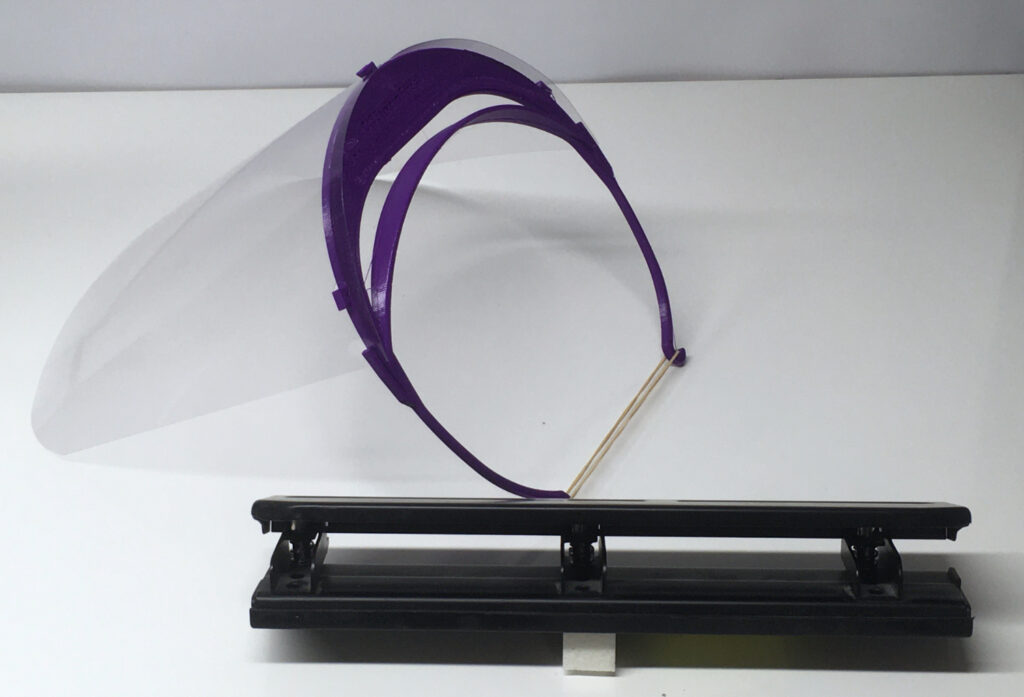
Many of us have 3D printers and other equipment that are sitting idling. Due to the current COVID-19 pandemic, there is a rapid increase in need for medical equipment in many places – and you can help save lives! This face shield prints on almost any consumer-grade 3D printer. Use a clear spiral binding cover sheet as the shield (or any other relatively thin, clear plastics) and make the holes with a regular paper hole punch.
Click here to download the STL files.
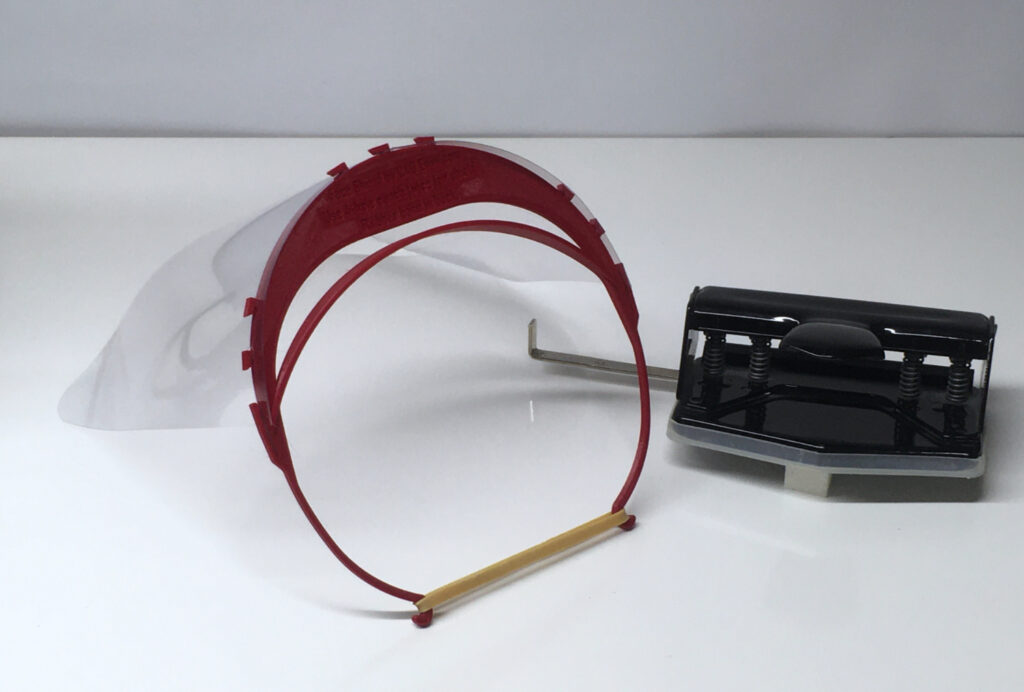
Bill of Materials:
- 1x face shield holder (3D printed – pick the correct file for your specific hole punch).
- 1x clear shield (for example a spiral binding cover/overhead sheet in size letter or A4).
- 1x rubber band or other fastener.
Needed equipment:
- 3D printer with minimum bed size ~200 mm x ~190 mm.
- Paper hole punch. Note that there are three different versions of the visor holder in the zip folder:
– For a 2-hole punch with 80 mm spacing (standard in New Zealand, Australia and other countries).
– For a 3-hole punch with 4.25″ (107.95 mm) hole spacing (standard in the USA).
– For a 4-hole punch with 21-70-21 mm spacing (standard in Sweden and other countries).

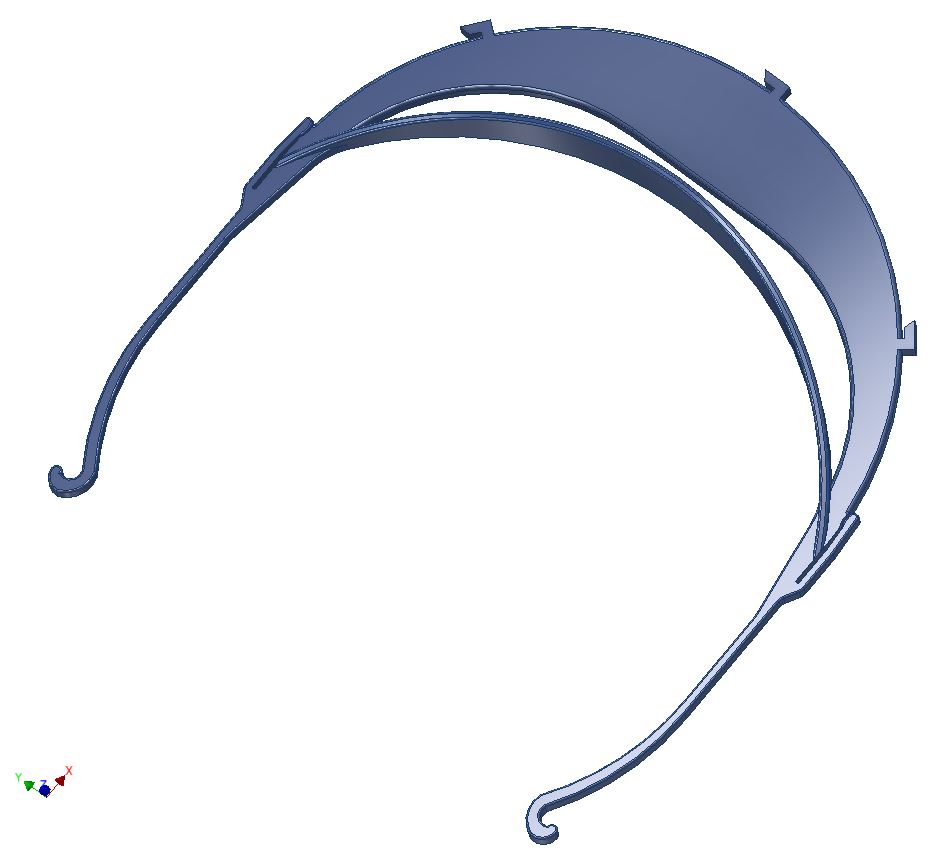
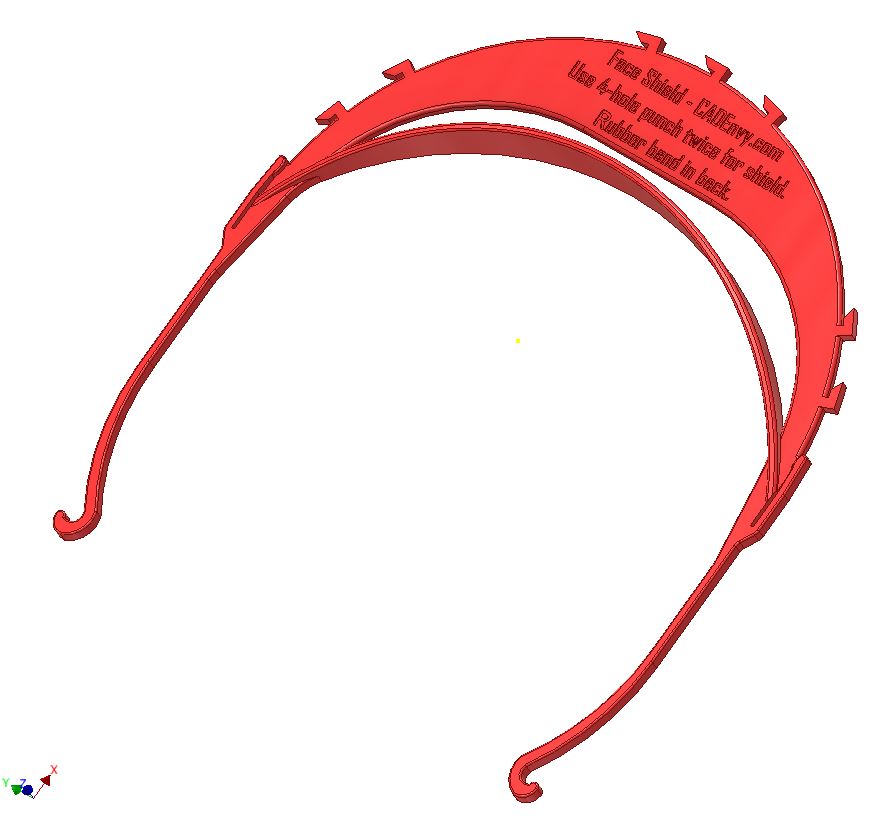
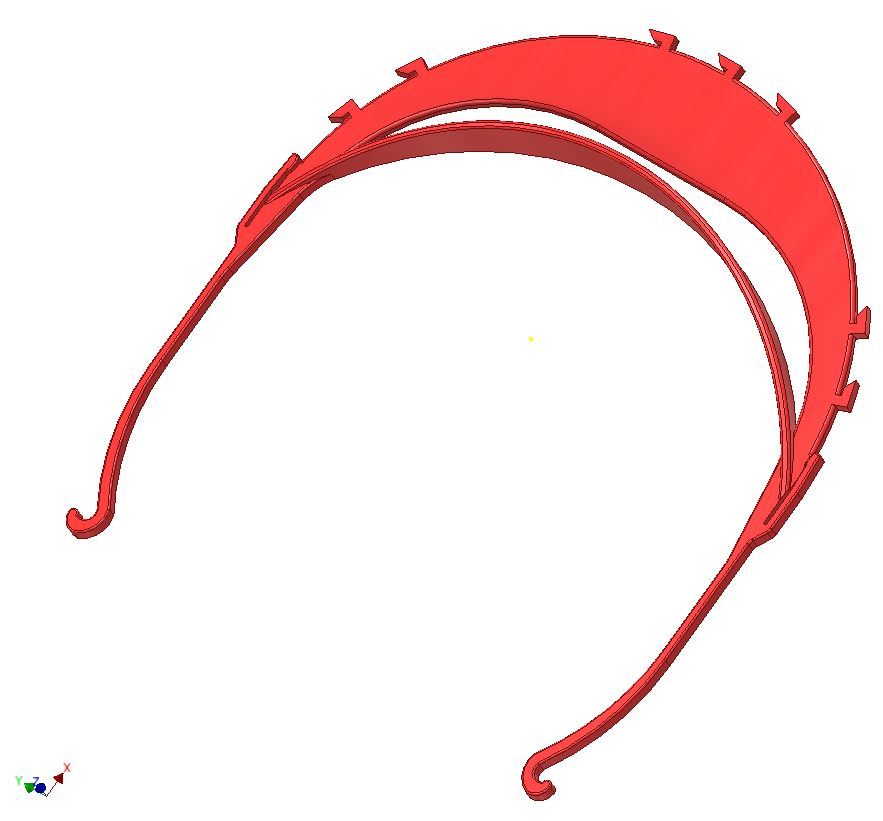
Print the visor holder:
- Download the file using the link above. Unzip the folder to access the STL file.
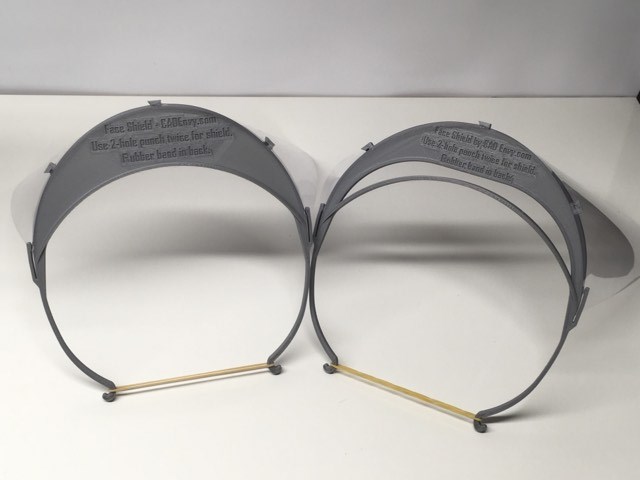
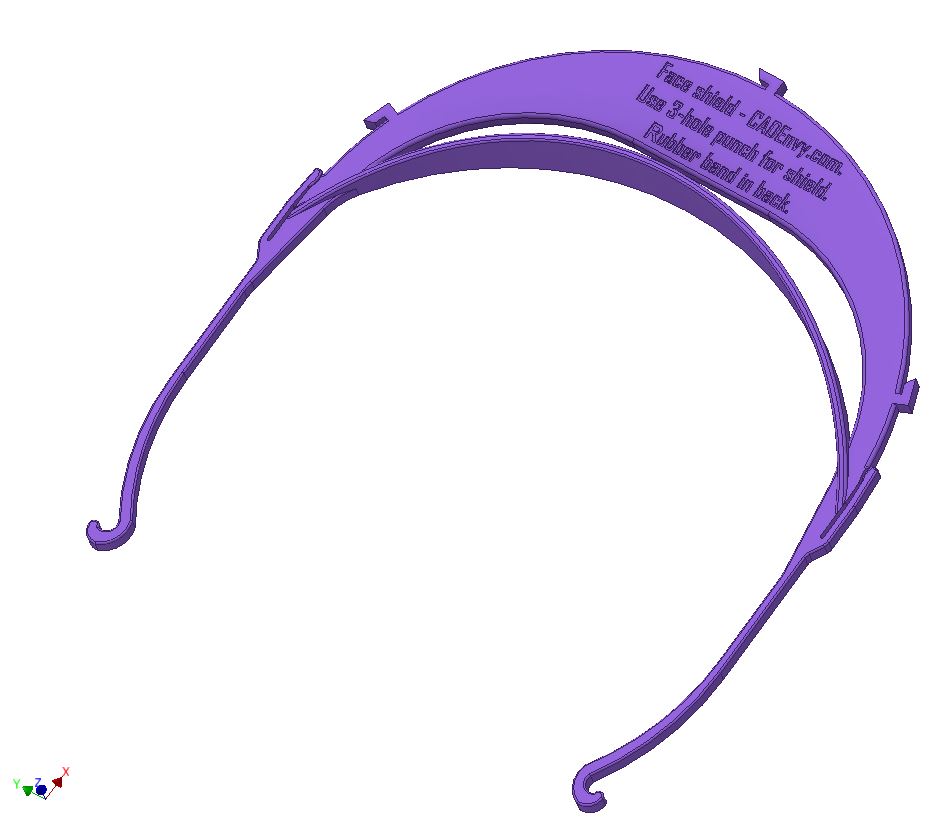
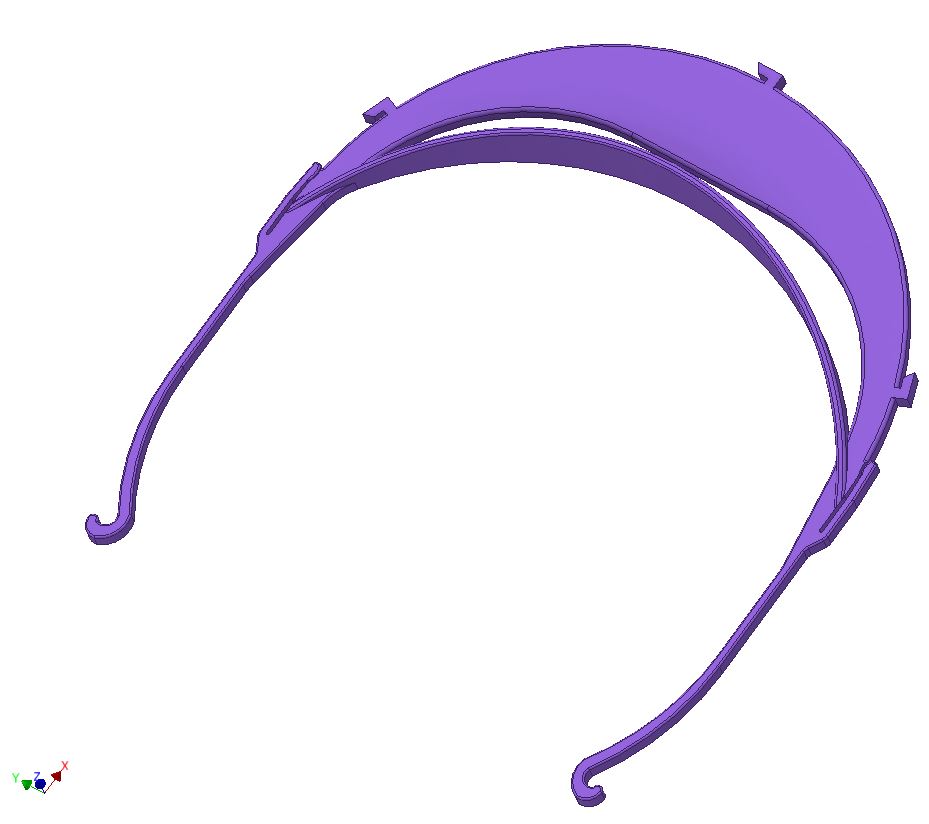
- Select the correct file for the hole punch you have available. Each design comes in four versions – with and without instructive text, and with and without ventilation. The text gives the users assembly instructions, but might be more difficult to disinfect. Ventilation will prevent the shield from fogging, but might not be accepted in all situations. (The 2-hole and 4-hole designs also come in a version with an eyelet instead of one of the hooks).
- Print the initial layer (the very first layer) and slow or very slow speed (~25 mm/s) to ensure good adhesion of the thin parts. The rest can be printed on high speed (90 mm/s appears to be the limit in my Prusa i3MK2S; your printer may be capable of higher or lower speed).
- Use any type of plastic 3D printing filament. PLA+, PETG or ABS recommended, but regular PLA works fine as well.
- Print without support or brim.
Make the shield – 2-hole punch version (New Zealand, Australia, and other countries):
- The visor holder is designed to use an A4 or letter sized clear spiral binding cover for the shield. However, you can use pretty much any clear plastics (more below). (I bought my binding covers from nzbinding.co.nz).
Gently fold the sheet and make a tiny mark or tiny crease at the edge to mark the center of the long side. - Place the punch so one hole lines up with the center mark you just made. Punch through the plastics.
- Move the punch and line one hole up with the already existing center hole. Punch again. The result will be three holes.
- Round the bottom corners to avoid the shield catching on clothing.
- Don’t have access to A4 or Letter sized plastic sheets? The straight section of a clear, straight 2 liter soda bottle will likely work well (I don’t have one on hand, so I can’t try). Cut out a rectangle from the straight section that is approximately the size of A4 ( 210 × 297 millimeters or 8.27 × 11.69 inches) or letter (8.5 x 11 inches or 215.9 x 279.4 mm). Then follow the same steps as for flat sheet above.
Make the shield – 3-hole punch version (USA and other countries):
- The visor holder is designed to use an A4 or Letter sized clear spiral binding cover for the shield. However, you can use pretty much any clear plastics (more below).
- Gently fold the sheet and make a tiny mark or tiny crease at the edge to mark the center of the long side.
- Punch holes in the long side, making sure the center hole is centered on the long side of the sheet.
- Round the bottom corners to avoid the shield catching on clothing.
- Don’t have access to A4 or Letter sized plastic sheets? The straight section of a clear, straight 2 liter soda bottle will likely work well (I don’t have one on hand, so I can’t try). Cut out a rectangle from the straight section that is approximately the size of A4 ( 210 × 297 millimeters or 8.27 × 11.69 inches) or letter (8.5 x 11 inches or 215.9 x 279.4 mm). Then follow the same steps as for flat sheet above.
Make the shield – 4-hole punch version (Sweden and other countries):
- Follow the instructions for the 2-hole version, but instead of 3 holes you will end up with 7 holes.
- If you use a thicker plastics, it might be difficult or impossible to insert all 7 hooks. In that case, consider cutting off some of the hooks with pliers/tongs.
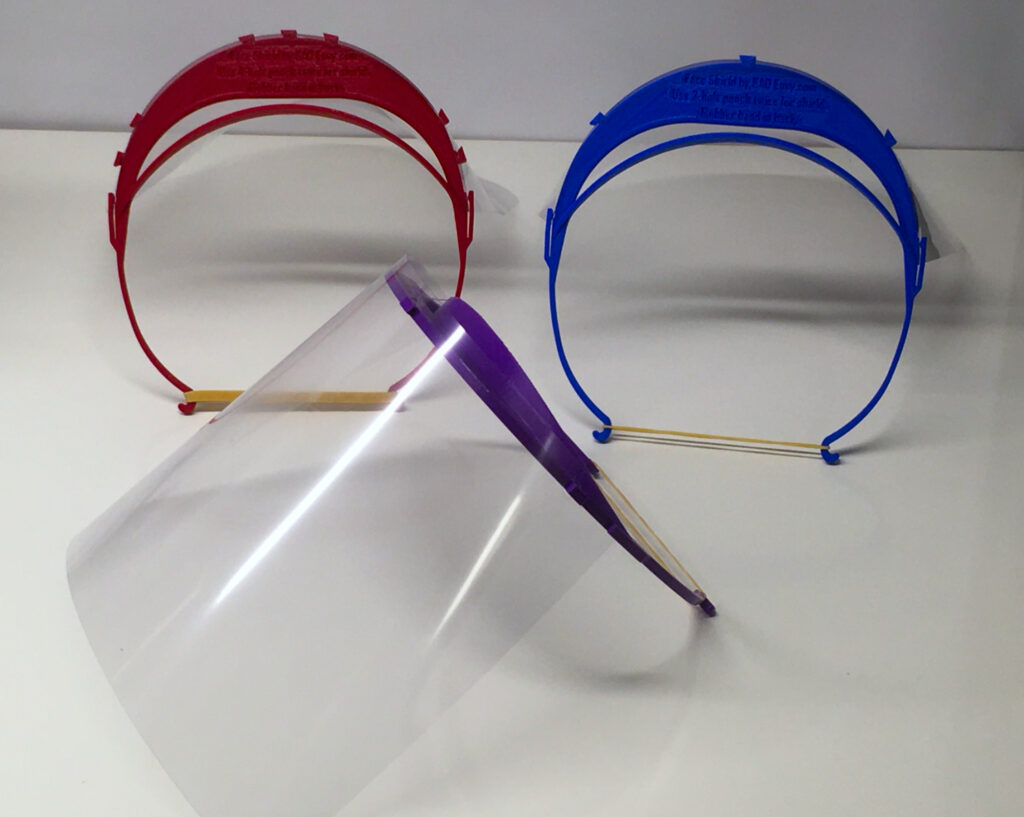
Assembly:
- Hold the visor holder with the text upwards (or with the rounded forehead support upwards if yours doesn’t have any text).
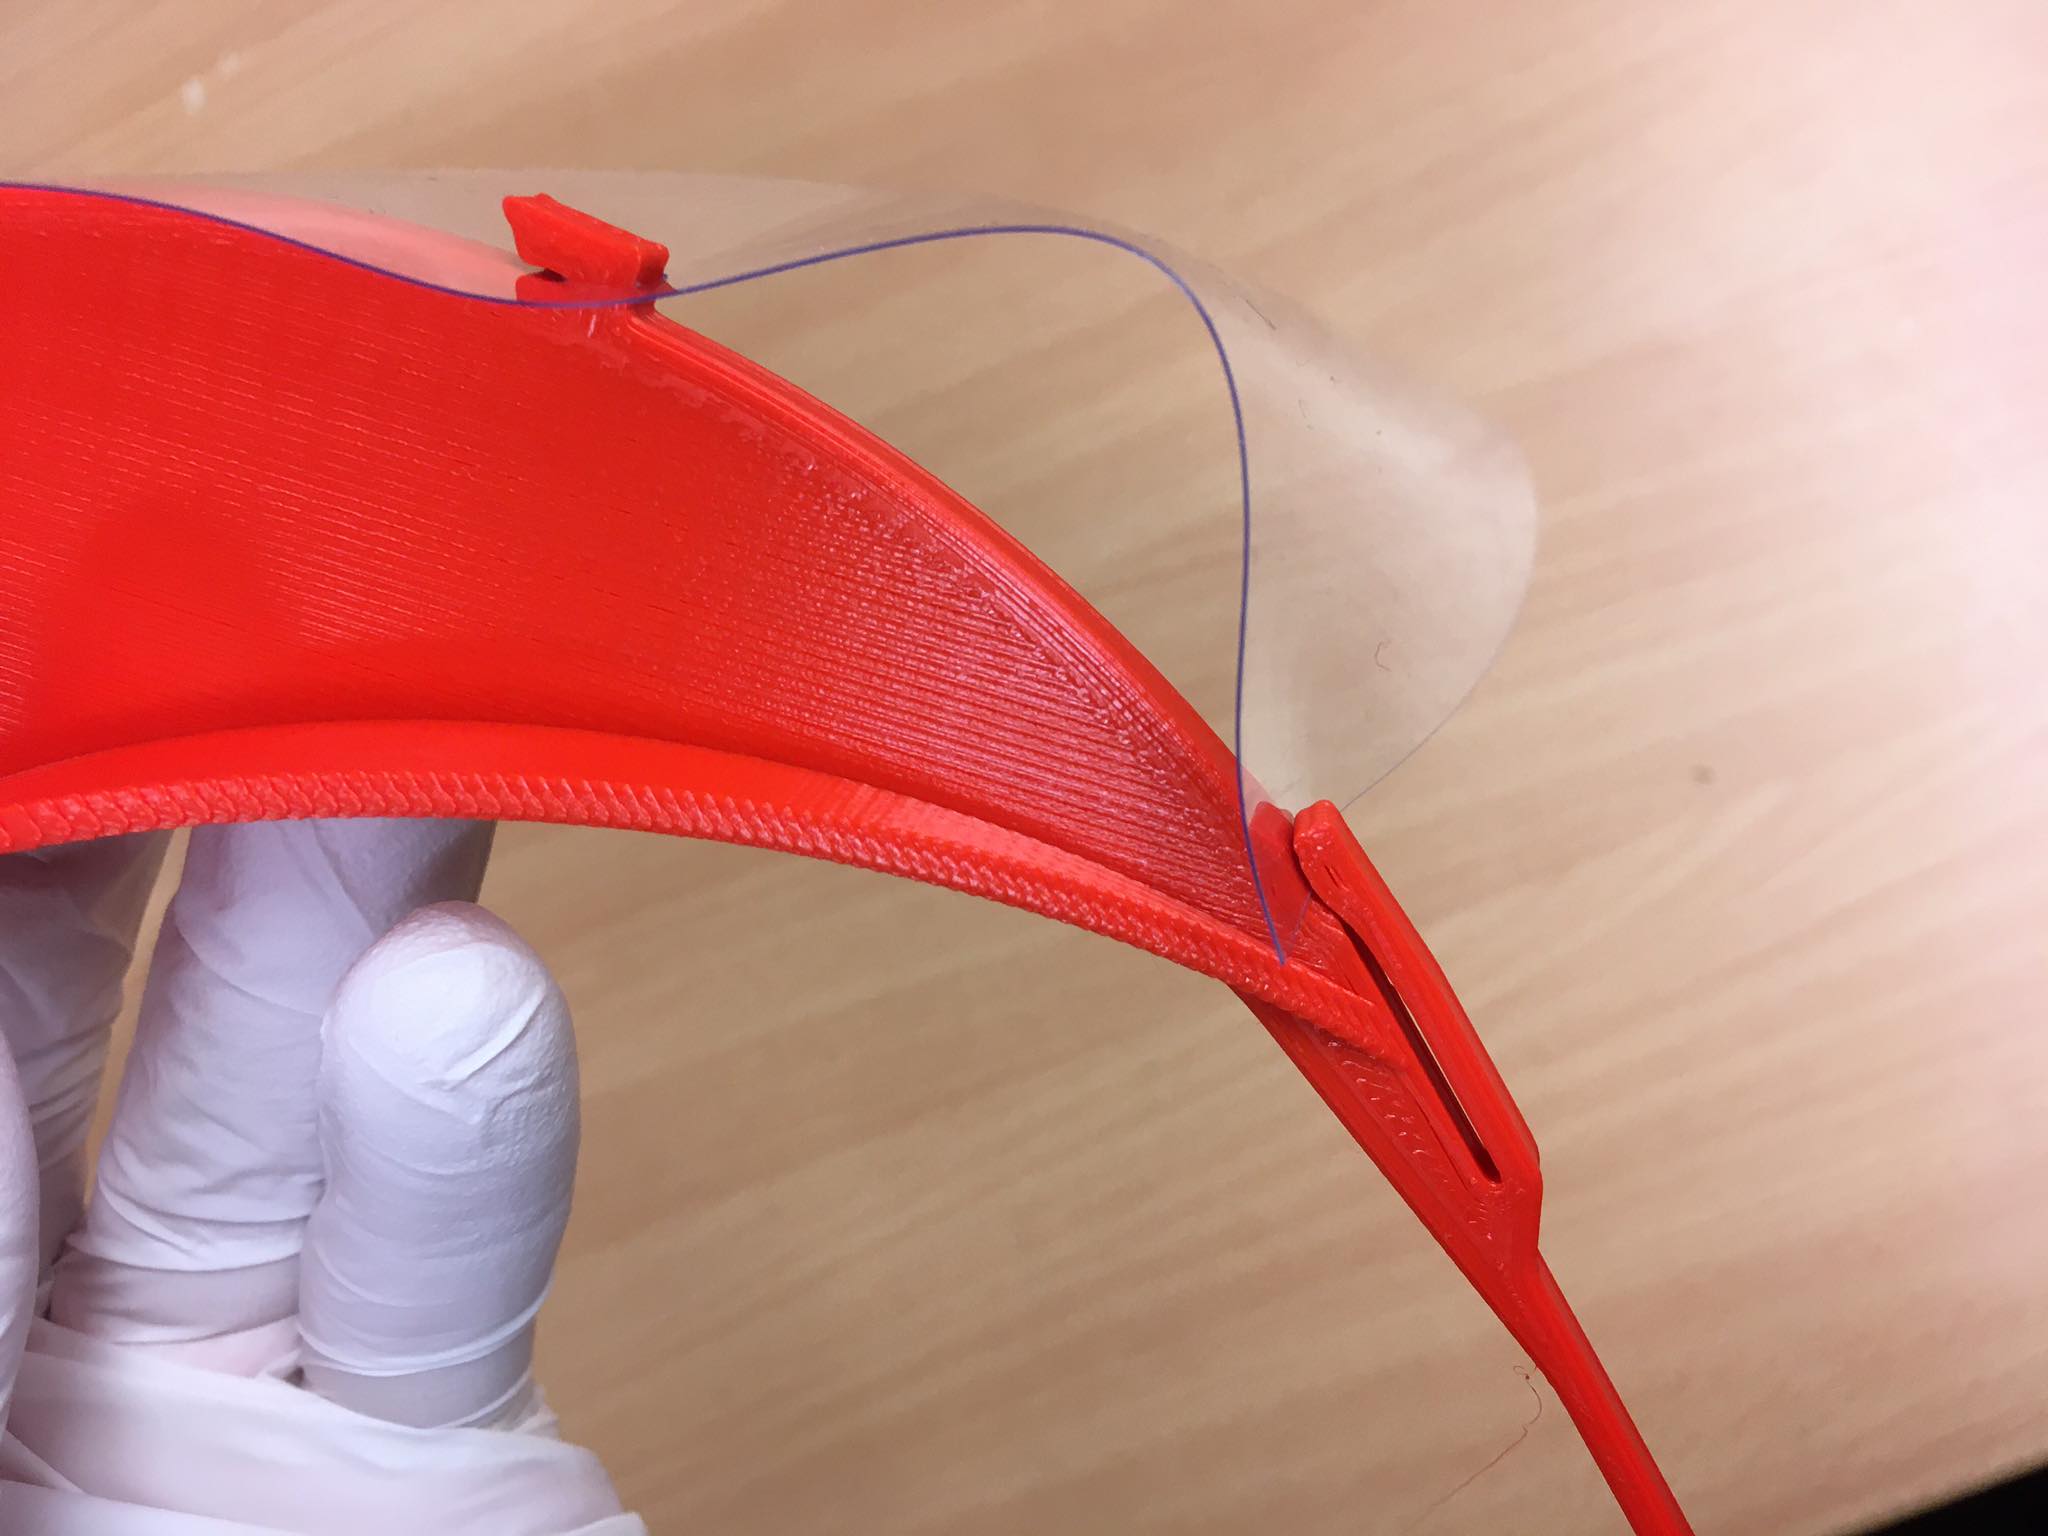
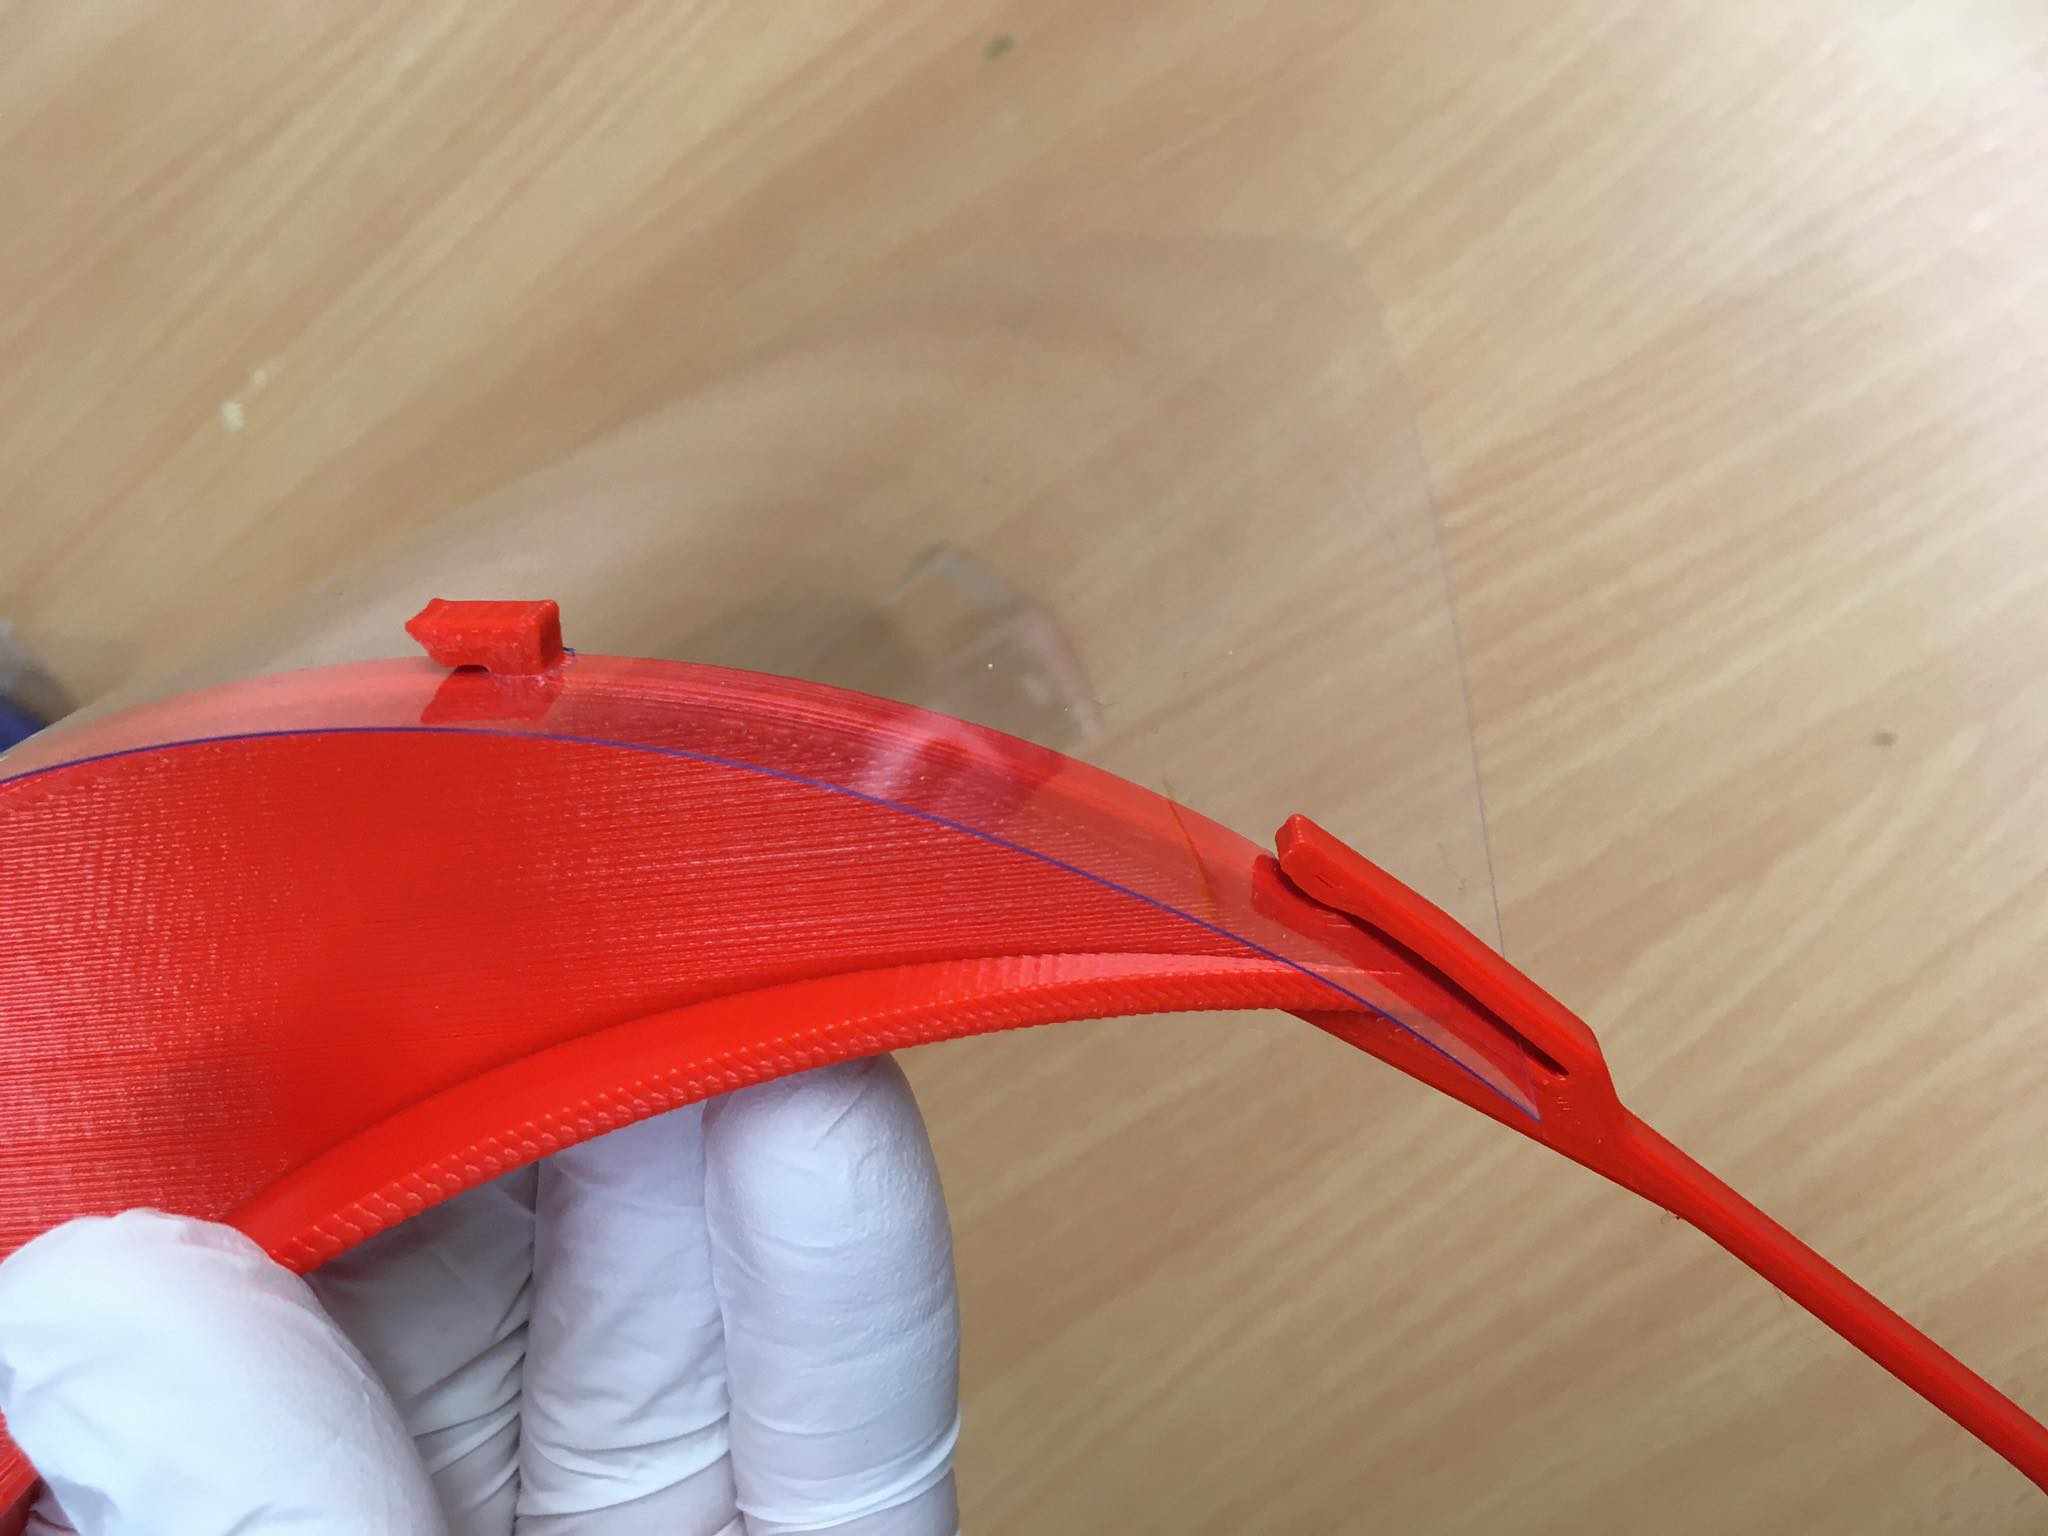
- Start from the left-hand side and thread the hook through the hole. Be gentle as the plastic shield is not very strong.
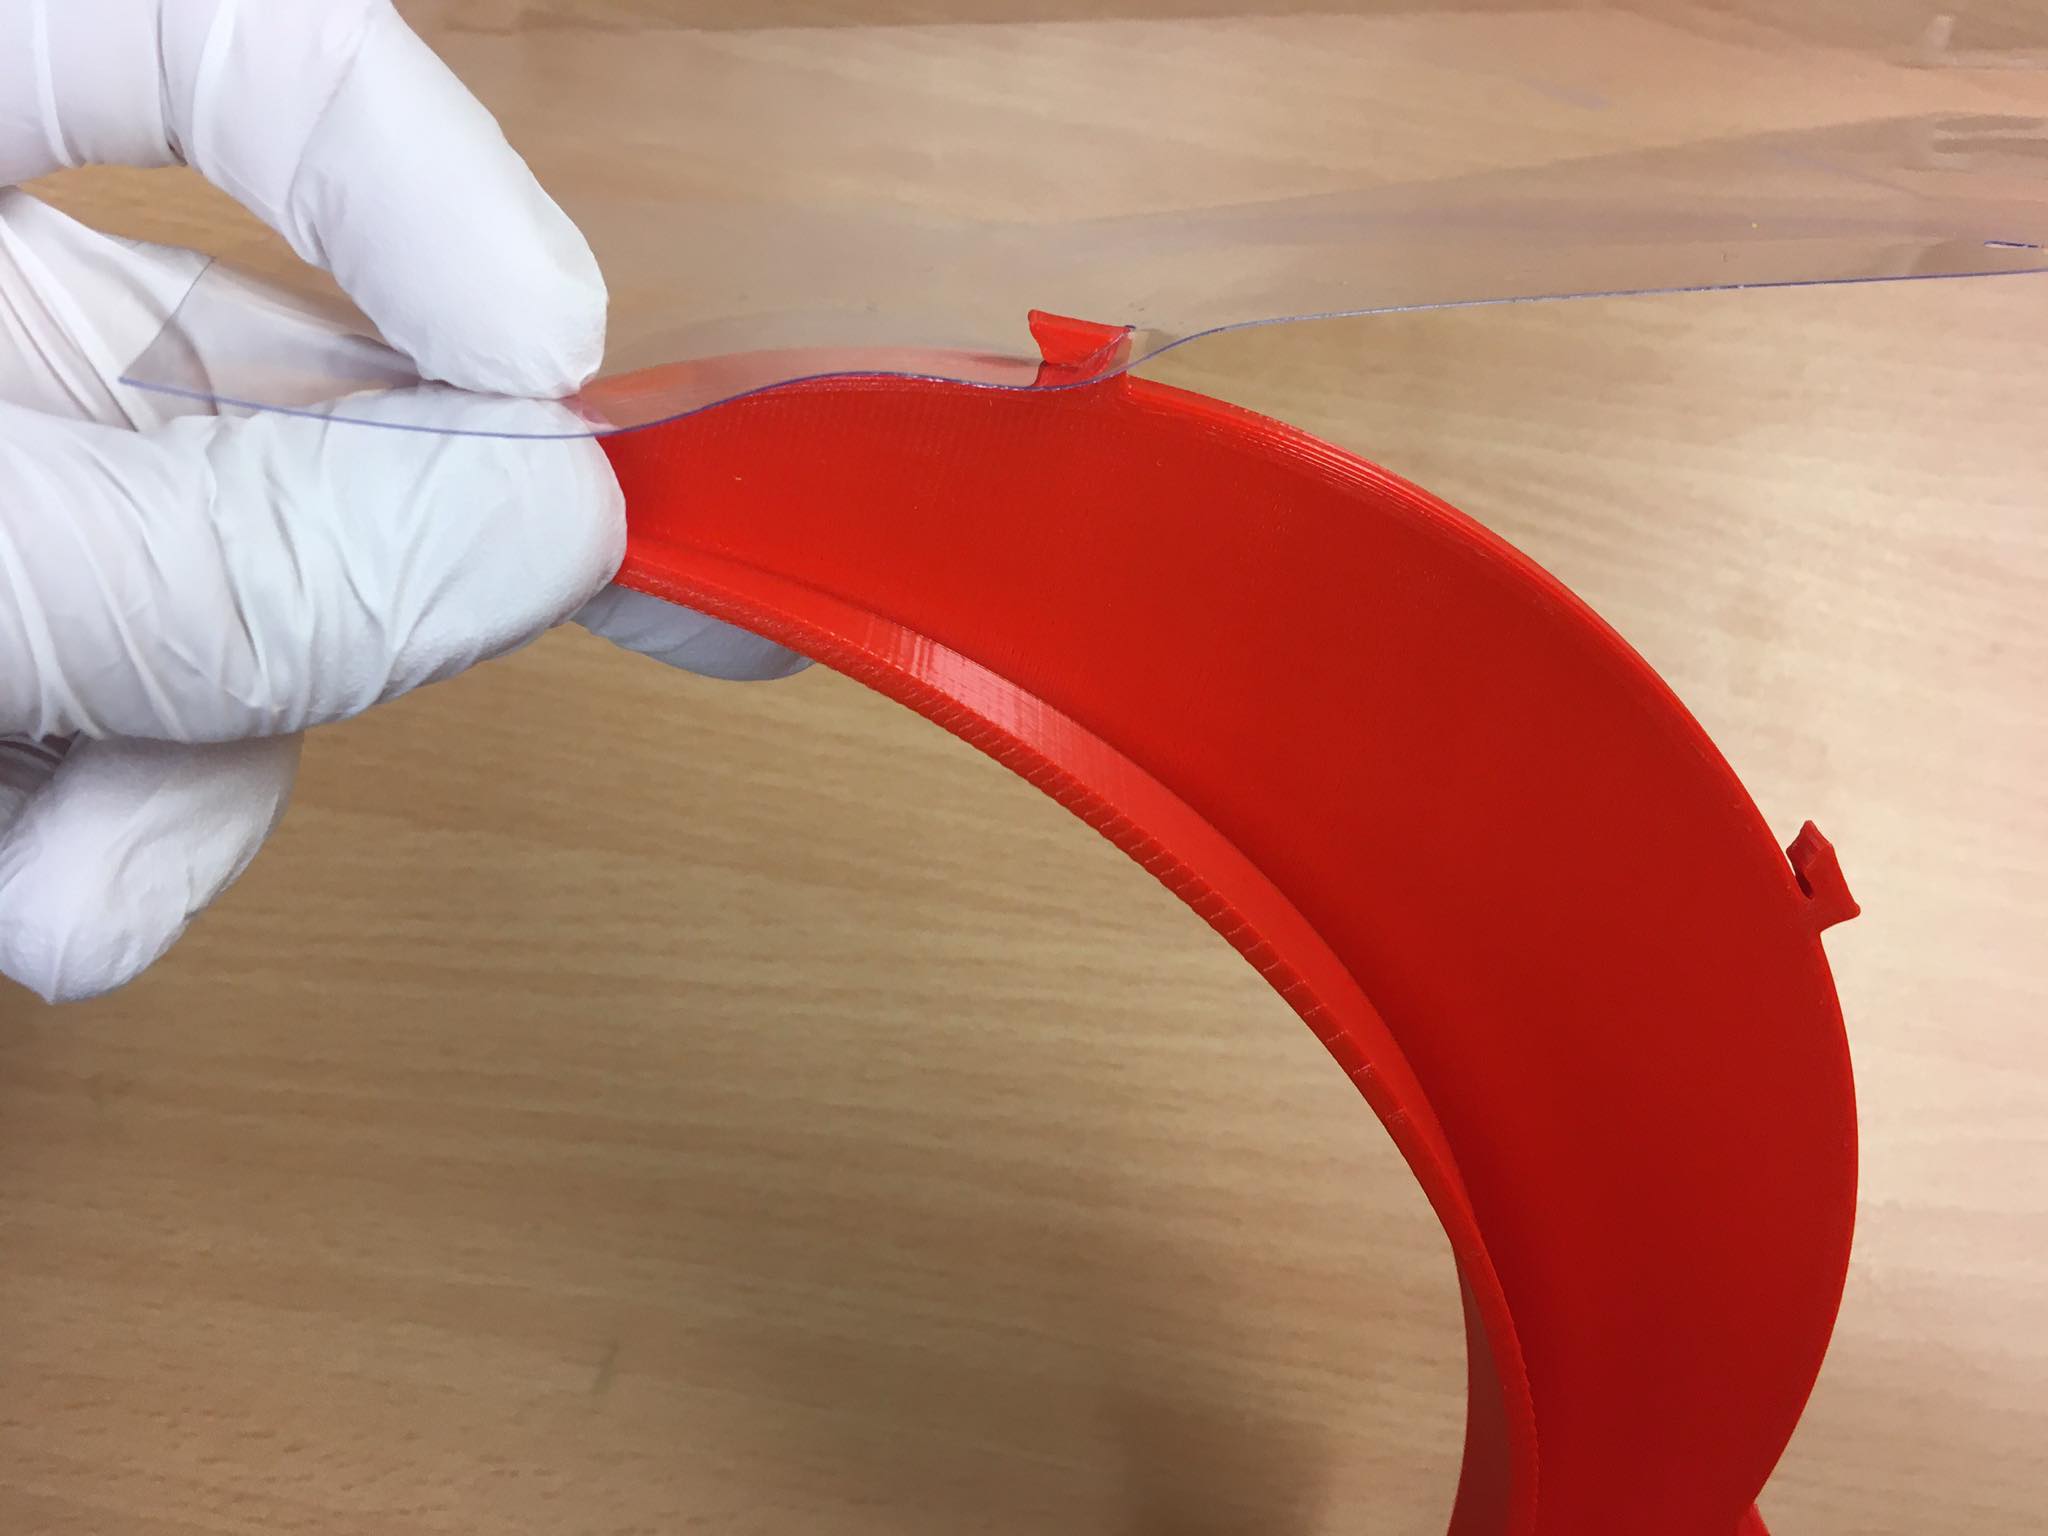
- Continue with the other hooks.
- Carefully insert the ends of the sheet under the tabs on the sides.
- Add a rubber band (or elastic hair tie) of suitable size to the back. If you don’t have a rubber band, any type of string will also work.
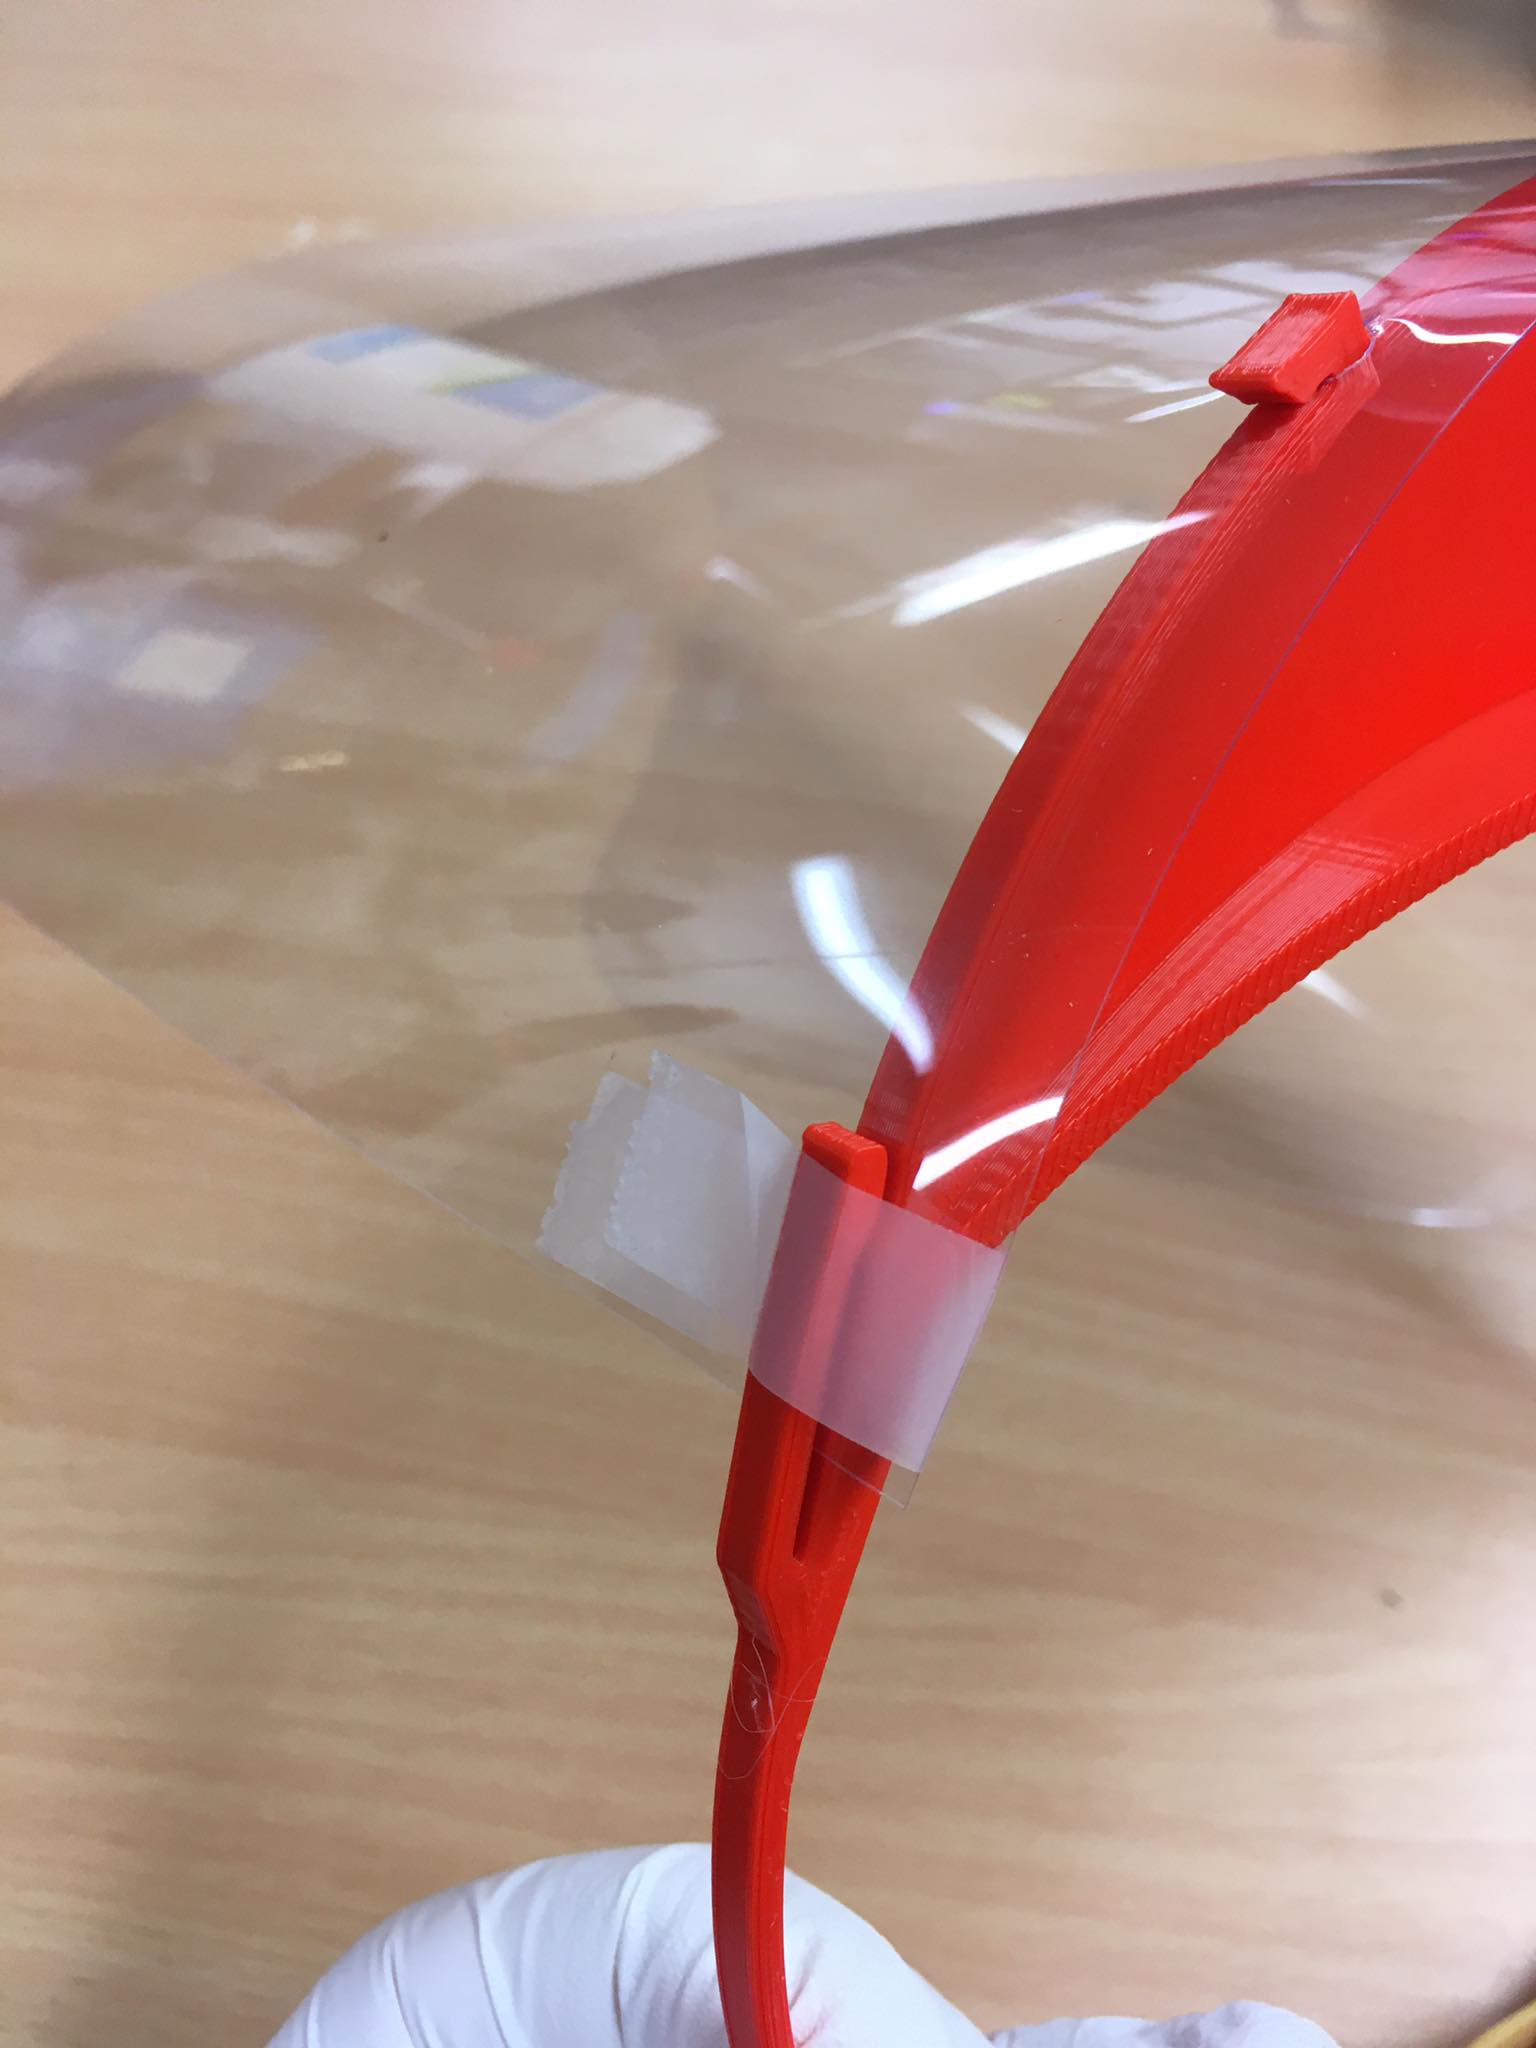
- If you feel that the clear shield is too loose or wobbly on the holder, you can secure it with a piece of tape.
To help maximize cleanliness and for ease of shipping, I recommend you allow the medical provider, healthcare facility, or user of the face shield to do the assembly.
Background:
The face shield is an improved version of the face shield released by 3D printer manufacturer Stratasys. The following features have been added or modified:
- Two additional designs for 2-hole and 4-hole punches.
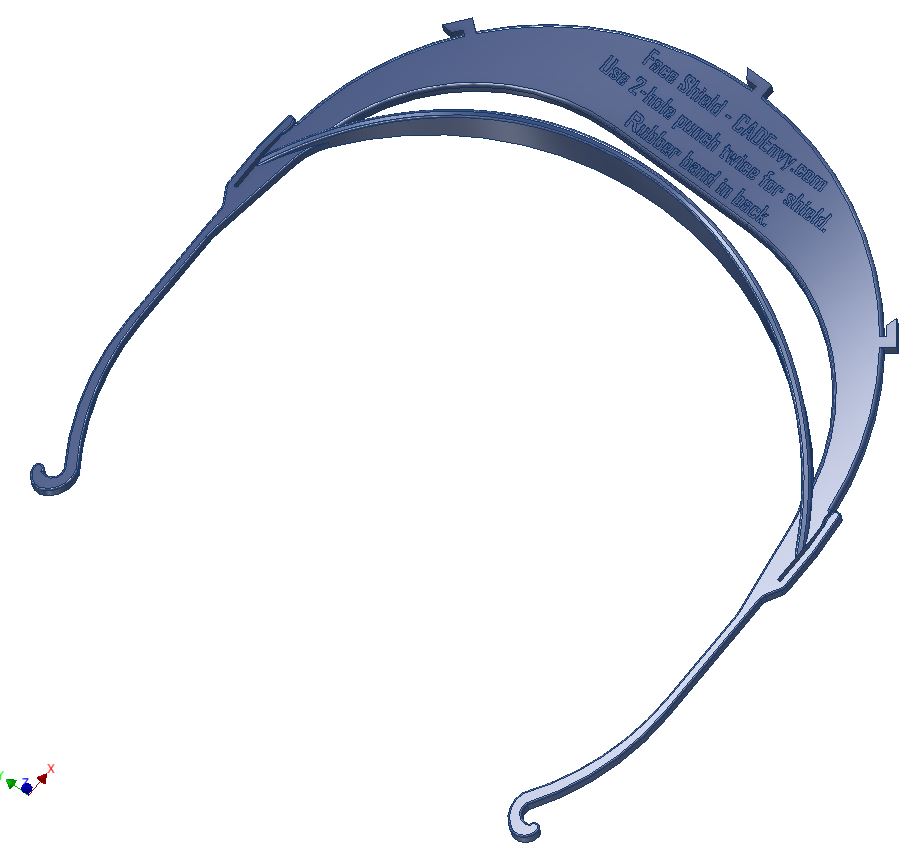
- Clips added to hold the shield better in place.
- All edges are chamfered or rounded to increase comfort for the user.
- Instructions for use and assembly are added on the printed part.
If you have extra 3D printing capacity, you can sign up to join Stratasys’ network and get notified if there help with 3D printing medical equipment is needed.
Have you improved the design? Or do you want to improve it?
Have you made improvements? Let me know and I will post your design here. Want to try to make a better design? I am happy to share the original Inventor file if you send me an email or a facebook message. https://www.facebook.com/EvaHakanssonRacing or contact-eva [insert “at” here] cadenvy [dot] com.
Also, if your country uses a different hole punch standard, please send me a description of the hole punch pattern (number of holes, spacing, and hole size) and I will create a design for it.
Disclaimer:
The files and instructions on this website are provided “AS IS”, in an effort to help with the urgent need for these items. Users of this Item must determine the appropriateness and use of this Item, whether there are any federal or State regulatory requirements for use of this Item, and for informing other users of these responsibilities. If you use, copy or share of any of the items posted on this website, agree: (1) you will not claim ownership of the logo or name of “CAD Envy”, which belongs to Eva Hakansson; (2) Eva Hakansson disclaims all warranties related to the items of any kind, express and implied, including but not limited to any implied warranties of merchantability or fitness for use or a particular purpose; non-infringement; compliance with any regulatory standards; and compliance with any other laws; and (3) Eva Hakansson retains no and disclaims all liability for any claims of any kind made by person, either as a result of use of or as related to the Item.